With the steel skeleton of my Minimalist Monument to Moi in place, the slab laid and the walls built, it is time to talk about moisture. Queensland is traditionally a wet place. When it rains, it doesn’t just come down in buckets, it comes in sideways and not just from one side either. It rains with a real intent to drench. Managing that water, coaxing it away from the areas of your house that are supposed to remain dry has become a science amongst roofers and plumbers in the supposed “Sunshine State”.
They have techniques for roofing and guttering that have developed over decades through trial and error. They have techniques that have turned into traditions through the hapless failure of the alternatives. Because they work and they are reliable, they are practices that are very difficult to question. Still, Shimada san thought he’d have a go. And why not? He’s built his career on ideas that somehow turn traditional methods into modern variations.

Take the design of the guttering for example. The roofline of my Minimalist Monument to Moi has been designed as a thin and refined super model’s silver eyebrow. Not the usual generous, scoop-shaped guttering profile of a typical Queenslander house, with the turned lip and exposed support brackets. Instead, Shimada san designed a detail that was more angular than that, and simpler, so it would read from underneath (where most would see it) as an unbroken line of shiny zinc plated steel. As sharp as a blade.

But how would it be supported? What would hold it there? After some inventive workshopping with the roofing guys, a custom designed steel bracket was formulated to support the guttering from the top, secured beneath the roofing iron, and then bent just so to hook cleverly under the folded lip of the guttering. It’s a support mechanism that remains hidden from beneath.
Brilliant! Well, only half brilliant actually, because what the design doesn’t account for is an allowance for any blowback of rain under the lip of the top sheet of steel. With traditional guttering design, this wouldn’t be a problem because the profile of the gutter wouldn’t follow the line of the roof. It would angle square to the ground so the roofing sheet would essentially dip into the gutter and the runoff rainwater would aim beneath the lip of the gutter, which would sit higher than the top edge of the roofing sheet.
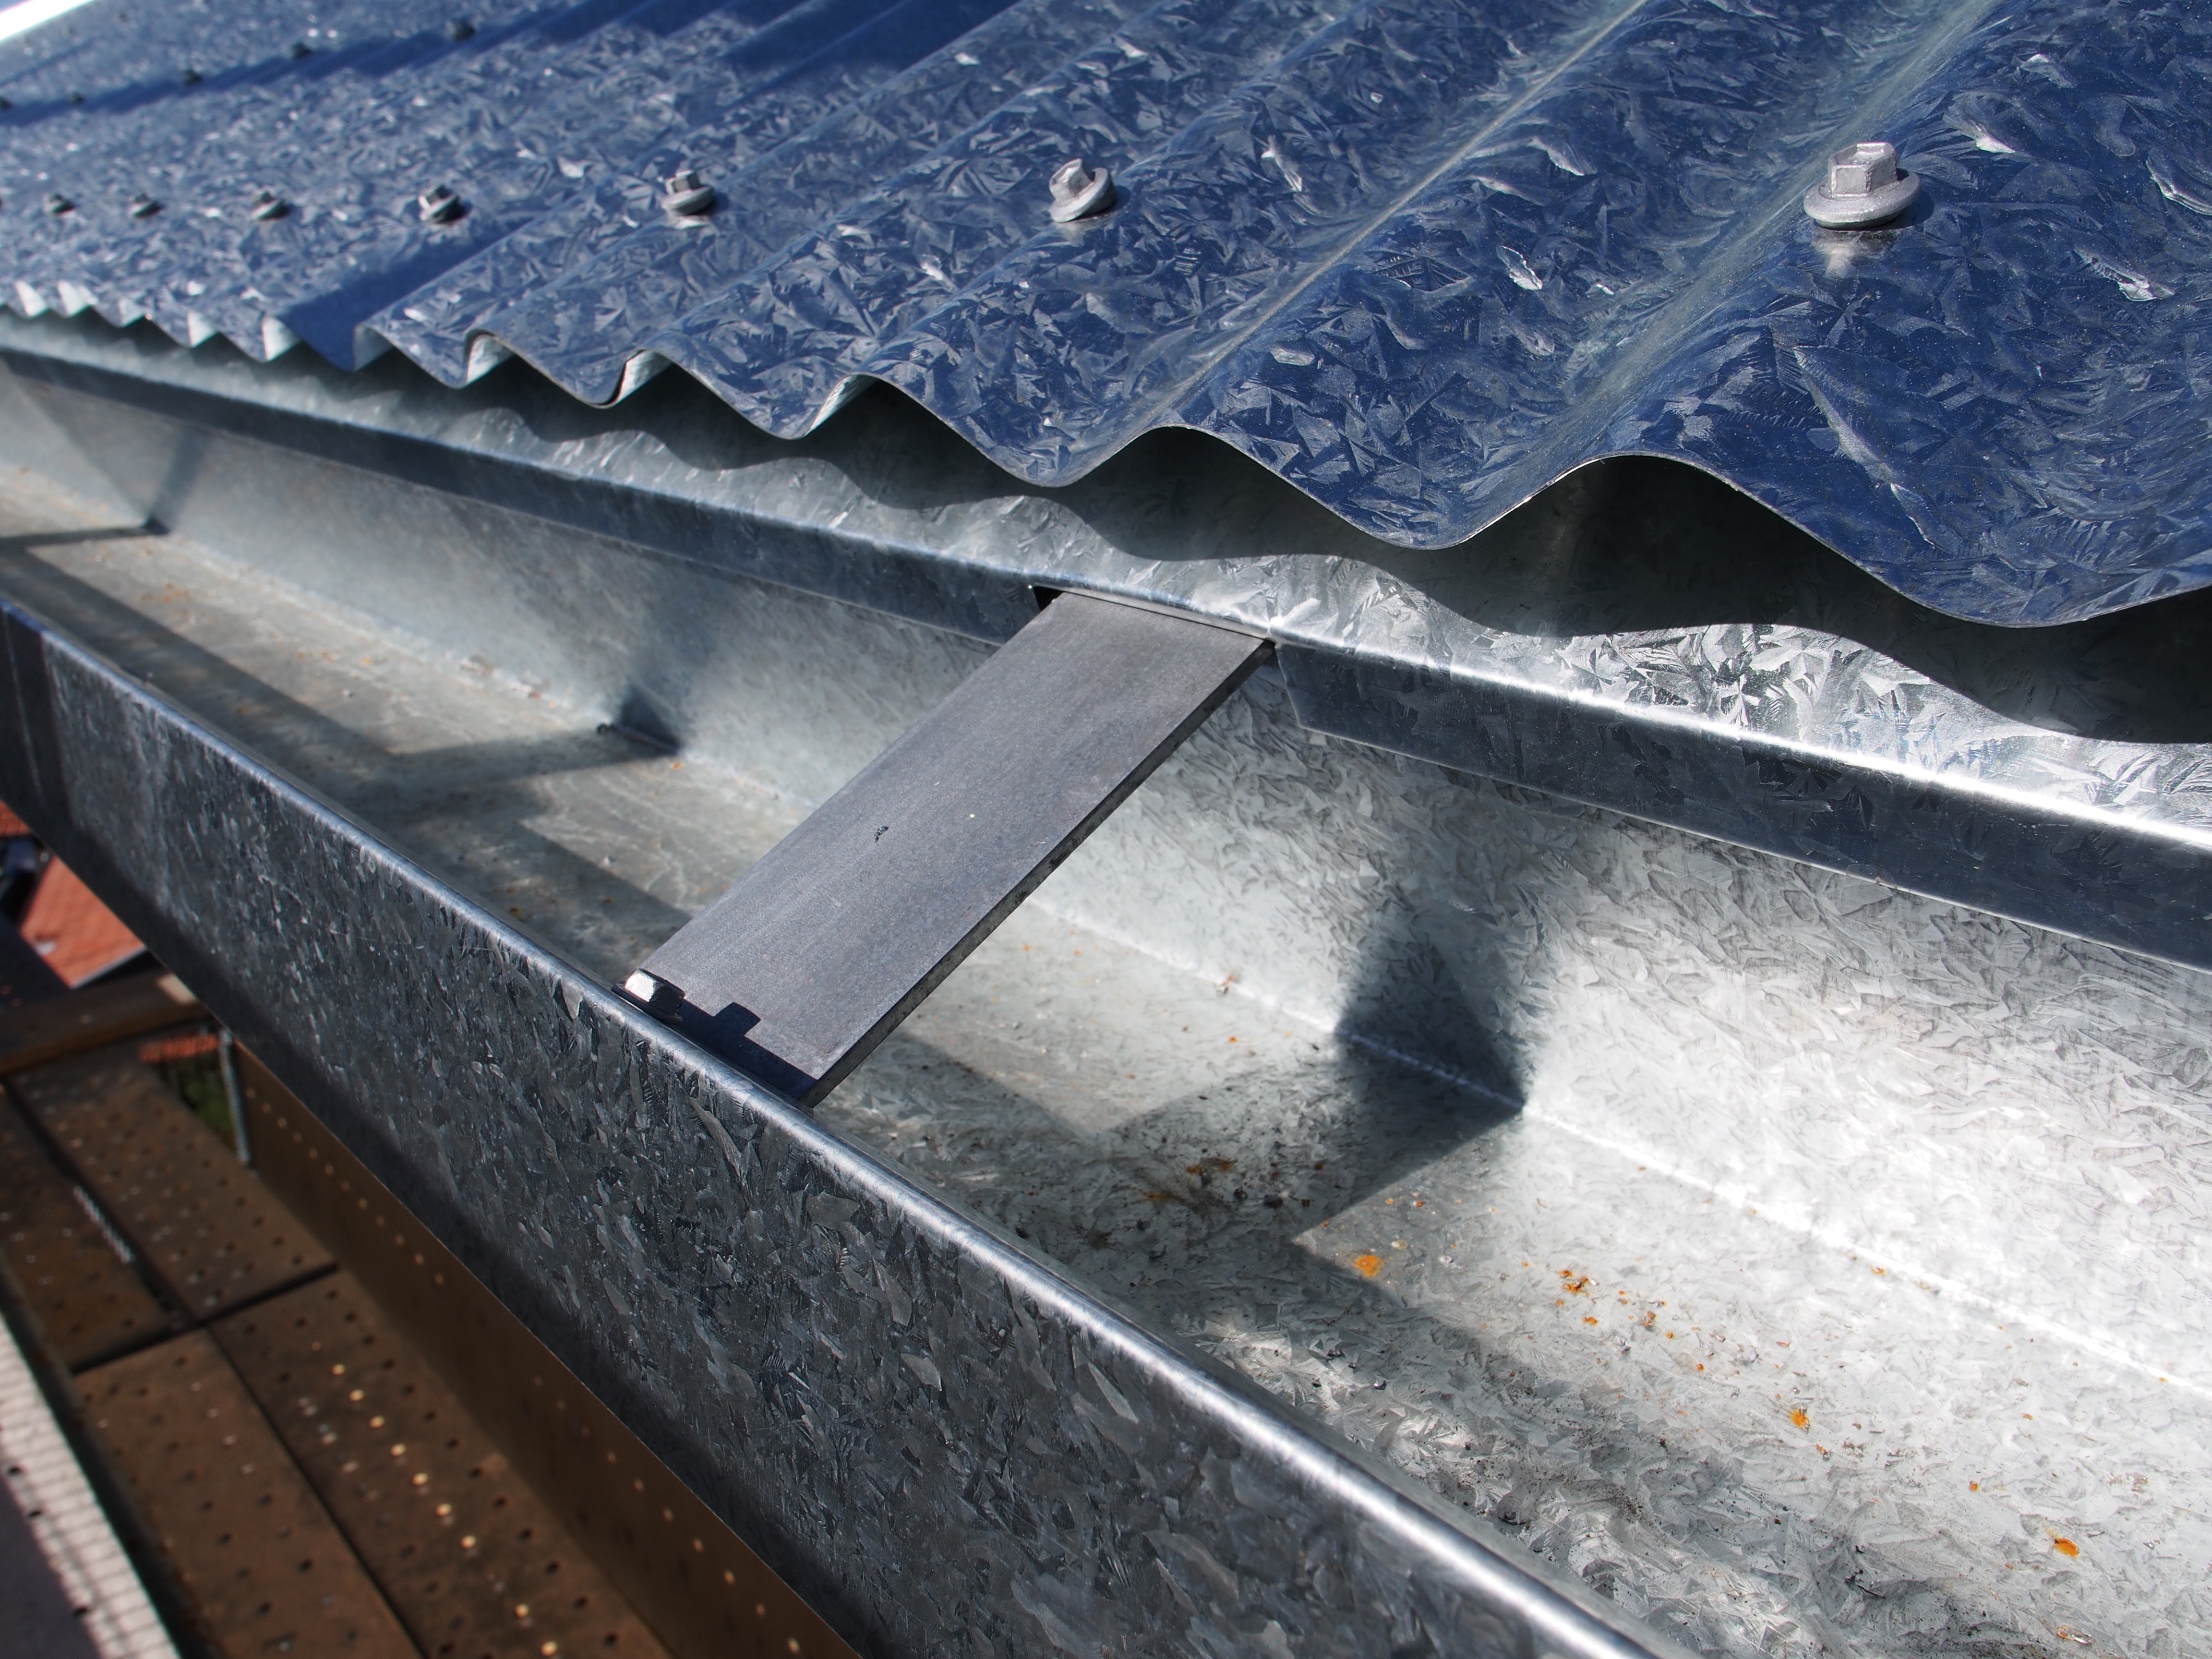
Shimada san’s gutter design was different though. It continued in line with the iron sheeting, so the lip of the gutter was essentially lower than the edge of the sheeting. To allow for the runoff to fall into the gutter and not drive straight over the edge like a rainwater Thelma and Louise, the edge of the sheeting needed to stop short at a decent distance from that lip to allow for the fall. But stopping short exposed the gaps beneath the high point in the corrugations, which is where sideways rain could get in, filling the eaves with water. So in addition to a new support mechanism for the gutter, a new flashing had to be devised that would prevent rain from blowing back under the shortened edge of the galvanised roof sheet.
There was quite a bit of origami involved in working this solution. Origami, Aussie style. Using galvanised steel, not Japanese paper. Hard core origami. Industrial origami. Manly origami.

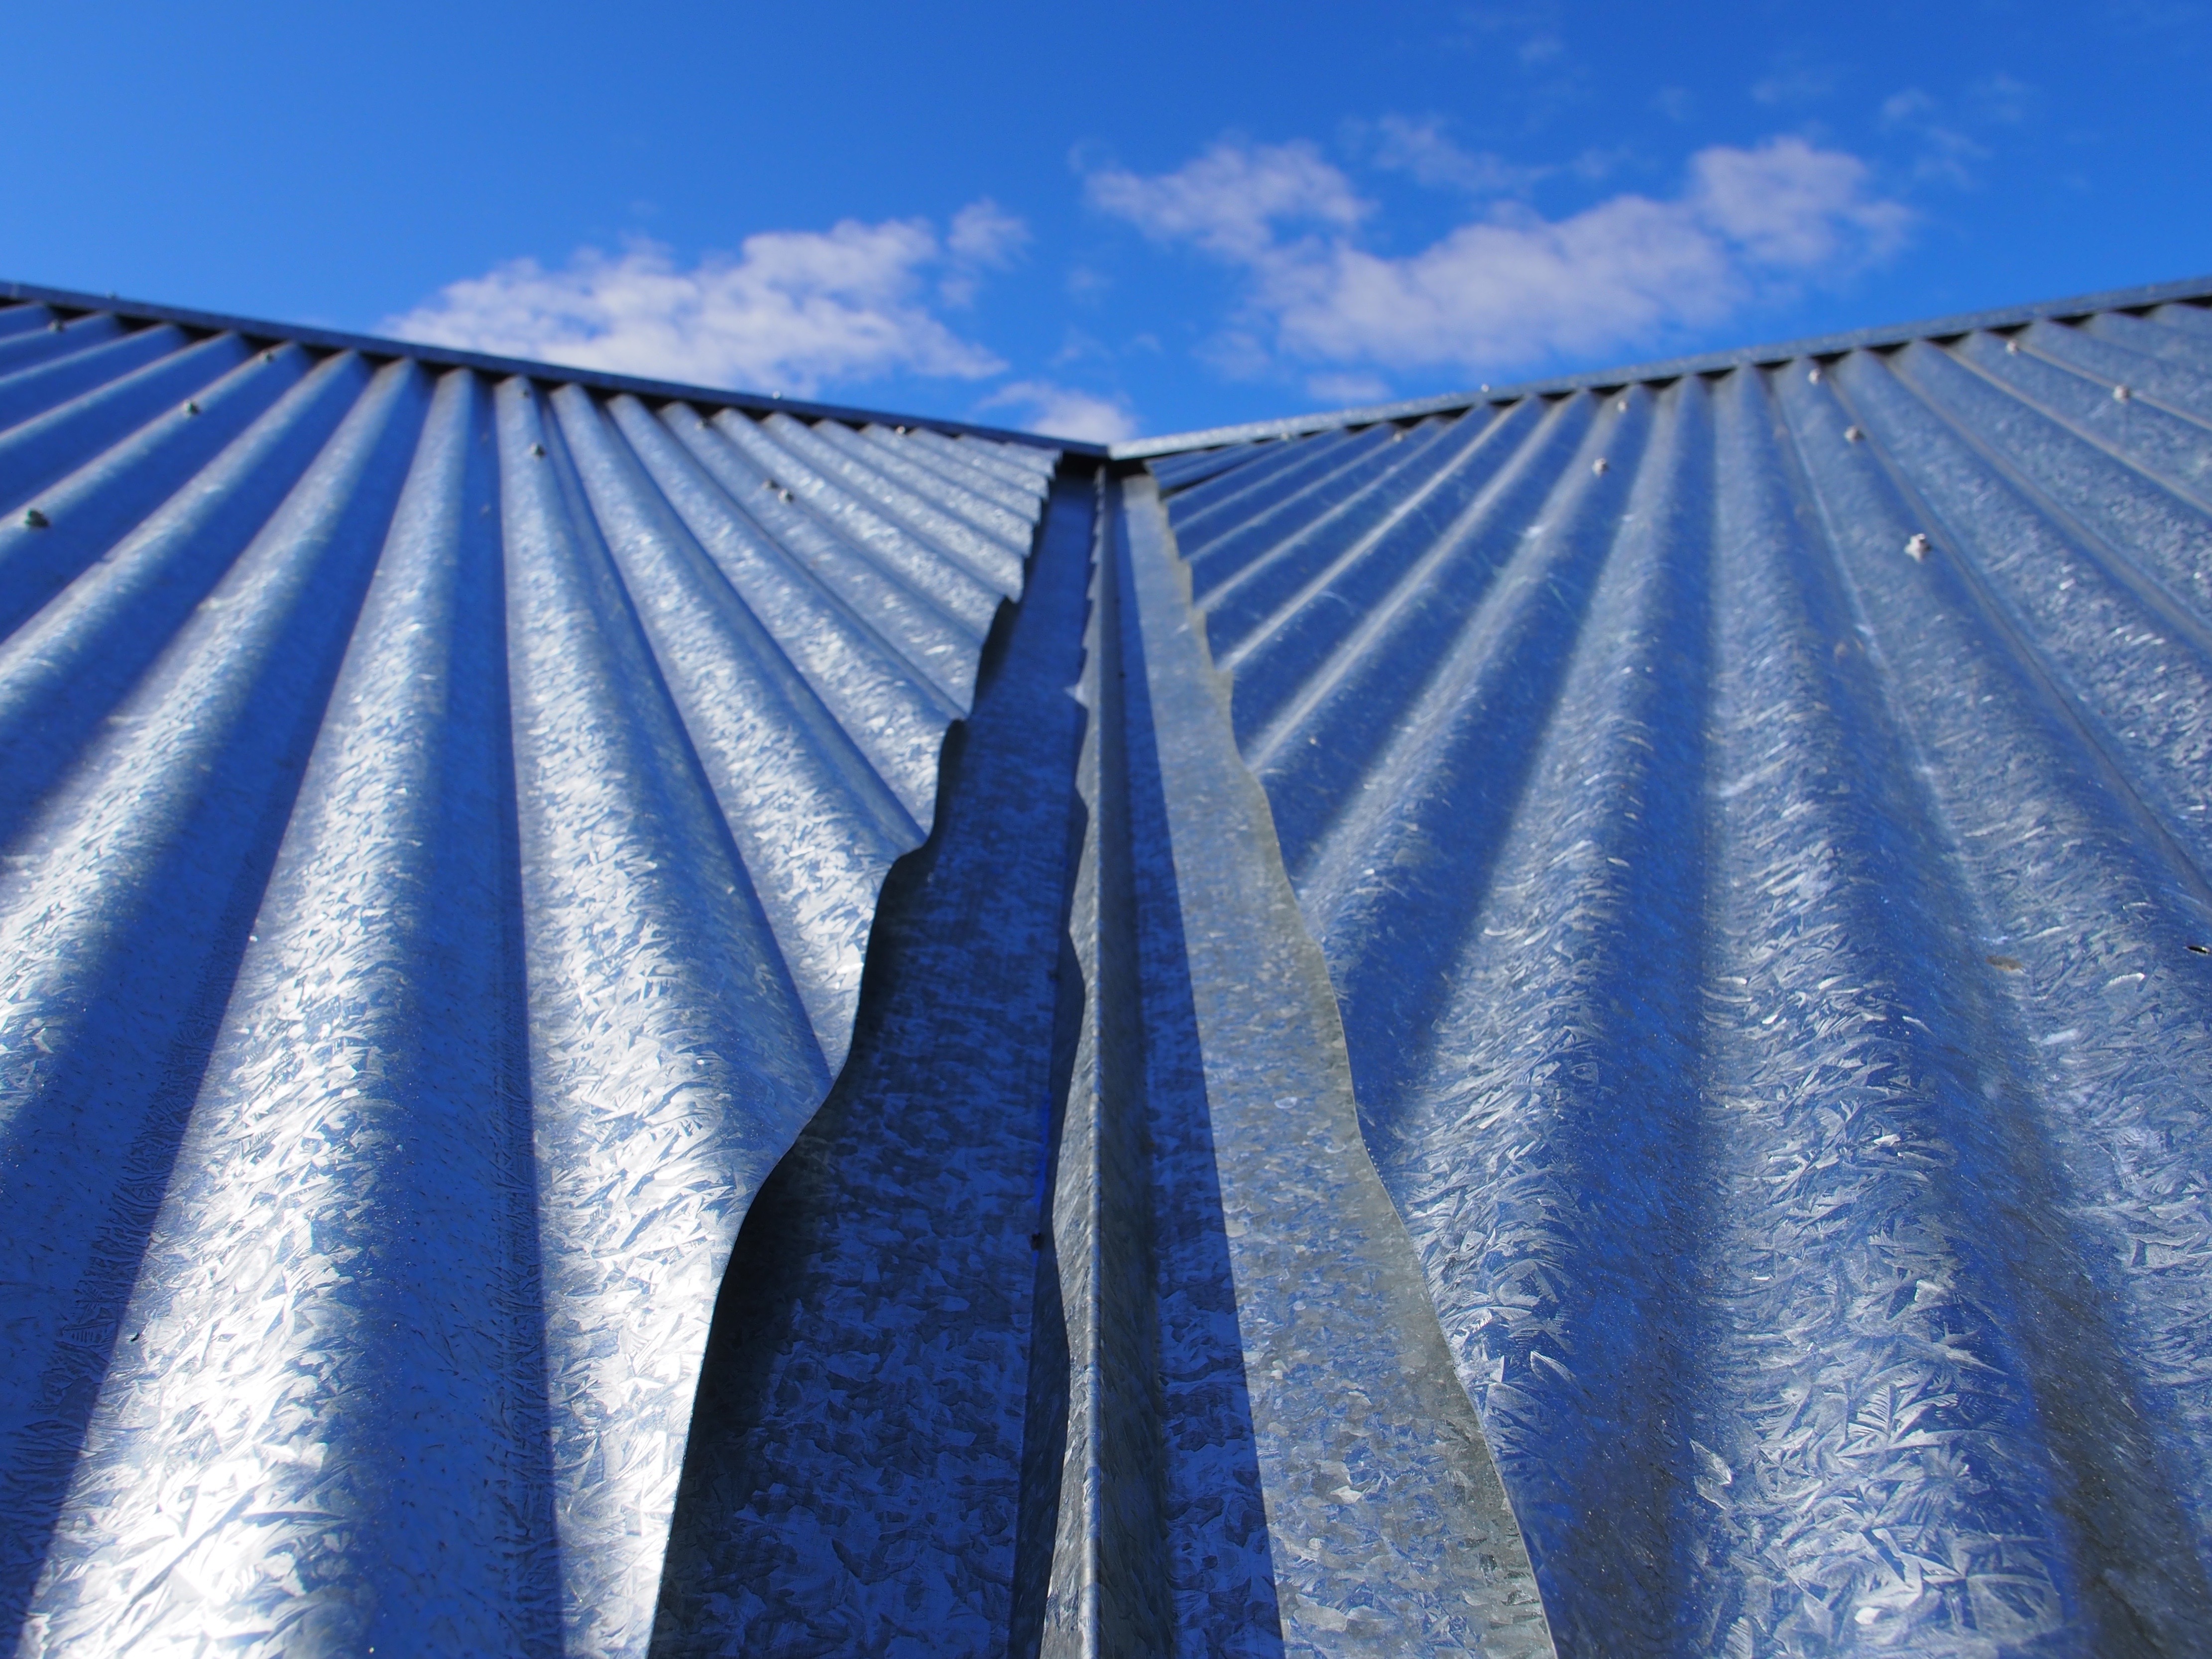
With the gutter detail solved, it was then time to sheet the roof. And with the sheeting of the roof completed, then for me came sweet, blissful sleep. My build-induced insomnia was partly salved by the installation of all that corrugation, because I knew what it represented. It represented water proofing. It took the rain and redirected it away from the timber work and tools and the tradesmen no longer exposed could continue to work even in bad weather. Clouds on the horizon no longer meant delays. If I hear rain tonight, I can just roll over and go back to sleep because now my house has a roof. As comforters go, a sheet of corrugated galvanised steel rates higher than a doona to me thanks to its ability to keep my house site dry.
Moisture still remains an issue though, with almost every other element of this project. It’s a continuing issue because Shimada san is pushing all the boundaries with his design. He’s putting spaces that are open to the weather over enclosed spaces, so that needs extra water proofing. He’s reducing the overhangs of the eaves so more of the house is exposed. He has also chosen to clad the building in a construction material that isn’t sealed in the traditional way.
Let me explain about the cladding now. We’re using compressed fibre cement in a weatherboard pattern. It’s been chosen for its finish, a natural cement finish that is never to be painted. It’s been sealed with a treatment that makes it water resistant. But that doesn’t account for the joins in the sheets. Now, normally the joins in the sheets wouldn’t be a problem because weatherboards are normally painted. So you can seal the join with silicone or something similar and then paint over the top. But the Minimalist Monument to Moi is being clad in CFC with a natural finish (ie. no visible finish) so the joins must remain un-siliconed and exposed (because a silicon join would ruin the clean line of the join). Add to this the complexity of working with a material that expands. The CFC needs to be installed with a decent gap between sheets to allow for expansion. They can’t be butted together. By a “decent gap” I mean 1.5mm on either end.

Lucky we had a team of CFC scientists who were tasked with the job of solving the problem of how to keep moisture out of the gaps in the CFC sheets without using a silicone bead. Over a period of a couple of weeks, solutions were pushed back and forth between the builder, the architects and the developers of the CFC sheets who were being asked to do things they’d never done before with their product. To be honest, I don’t like the sound of the word “experiment”, not when it comes to housing, but experiment they did down at the CSR Cemintel factory where they tested solutions to the problem of moisture in the cladding being used on the Minimalist Monument to Moi.
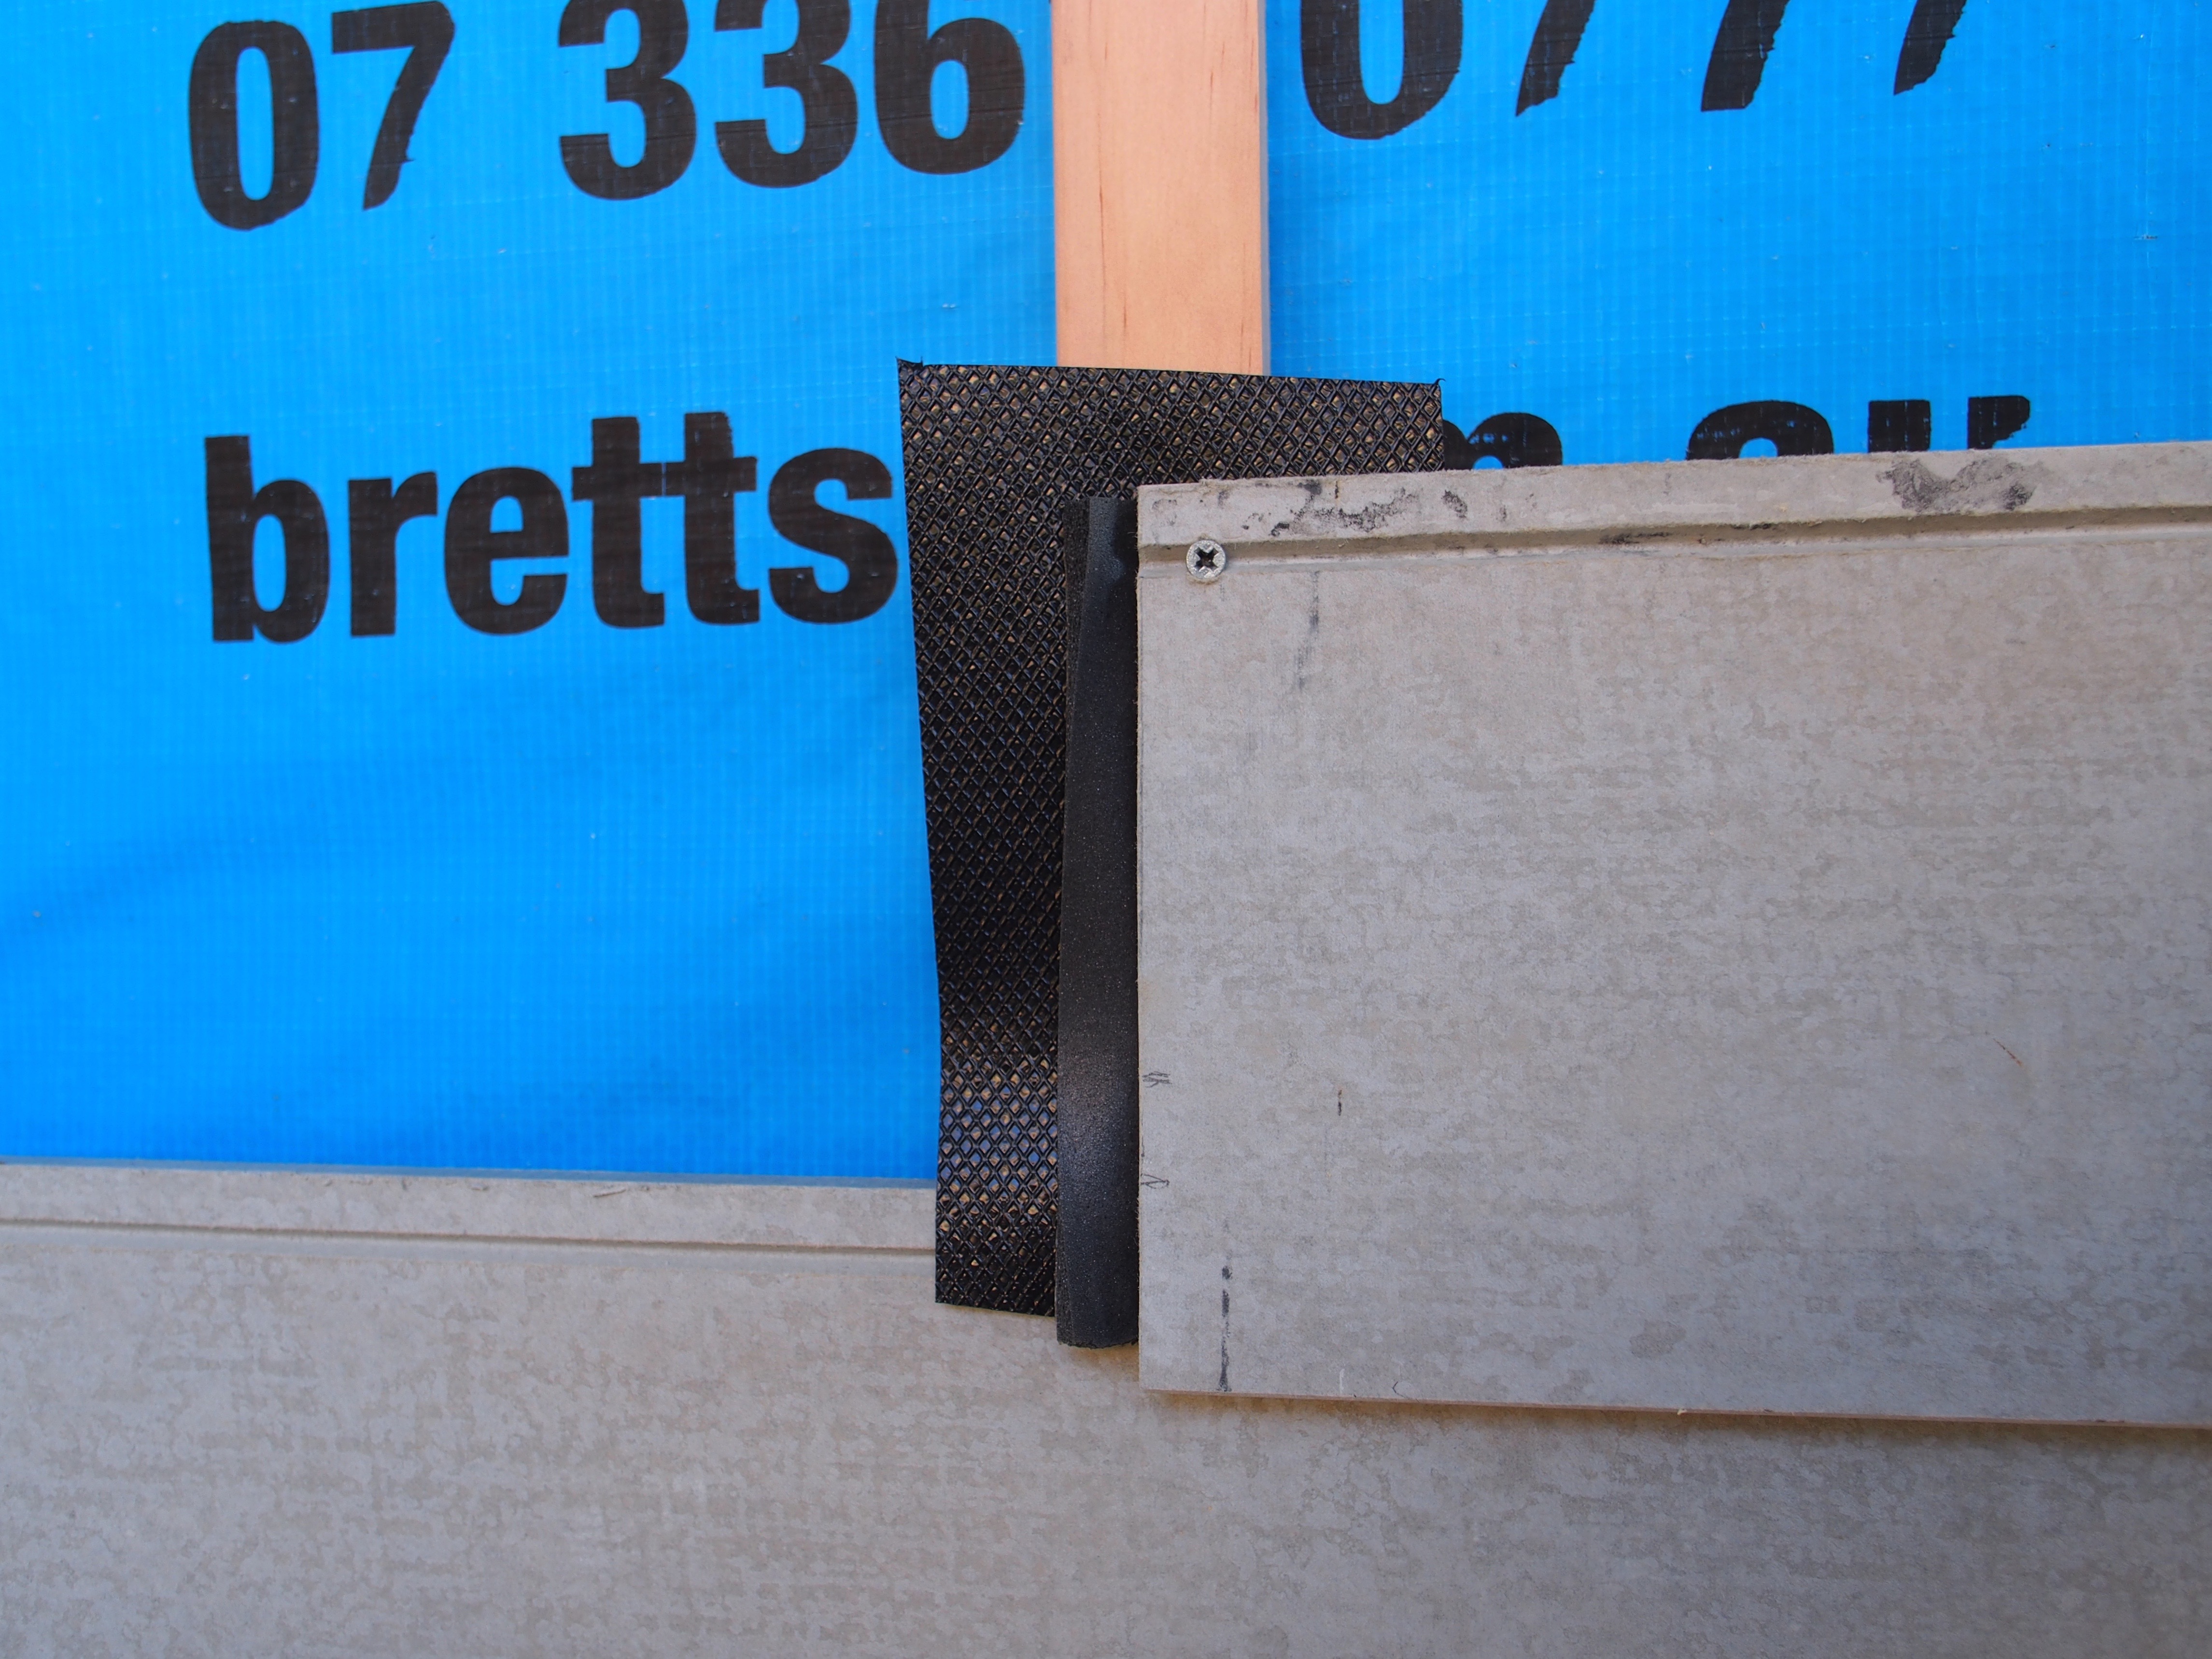
In the end, the solution was relatively simple. A strip of damp course, overlaid with CSR’s proprietary foam strip, both positioned directly under the join. Hearing this solution, I wanted to say, “Sign here just in case this ever leaks.” but I felt so many heads, including the conservative ones at CSR had been knocking together over this problem, who was I to question it? It seemed to make sense and these people are the experts, right? Also, CSR have a lot riding on this solution. They’re using it as a demonstration building for a the CFC product they had developed, used for the first time on my house.
Alrighty then, no pressure. Let the cladding begin.
They say design is in the details or the details make the design. To this stage, the building process has been large scale. Big pieces slotting into place. I have seen glimpses of detail, but with the cladding of the exterior now underway, now I can see the sort of care and craftsmanship that is being exhibited by the builder. I think this is the moment he’s been waiting for.

For example. Fitting weatherboards into a corner would seem to be a relatively simple exercise of just cutting to size. But not when you want them to overlap and alternate.
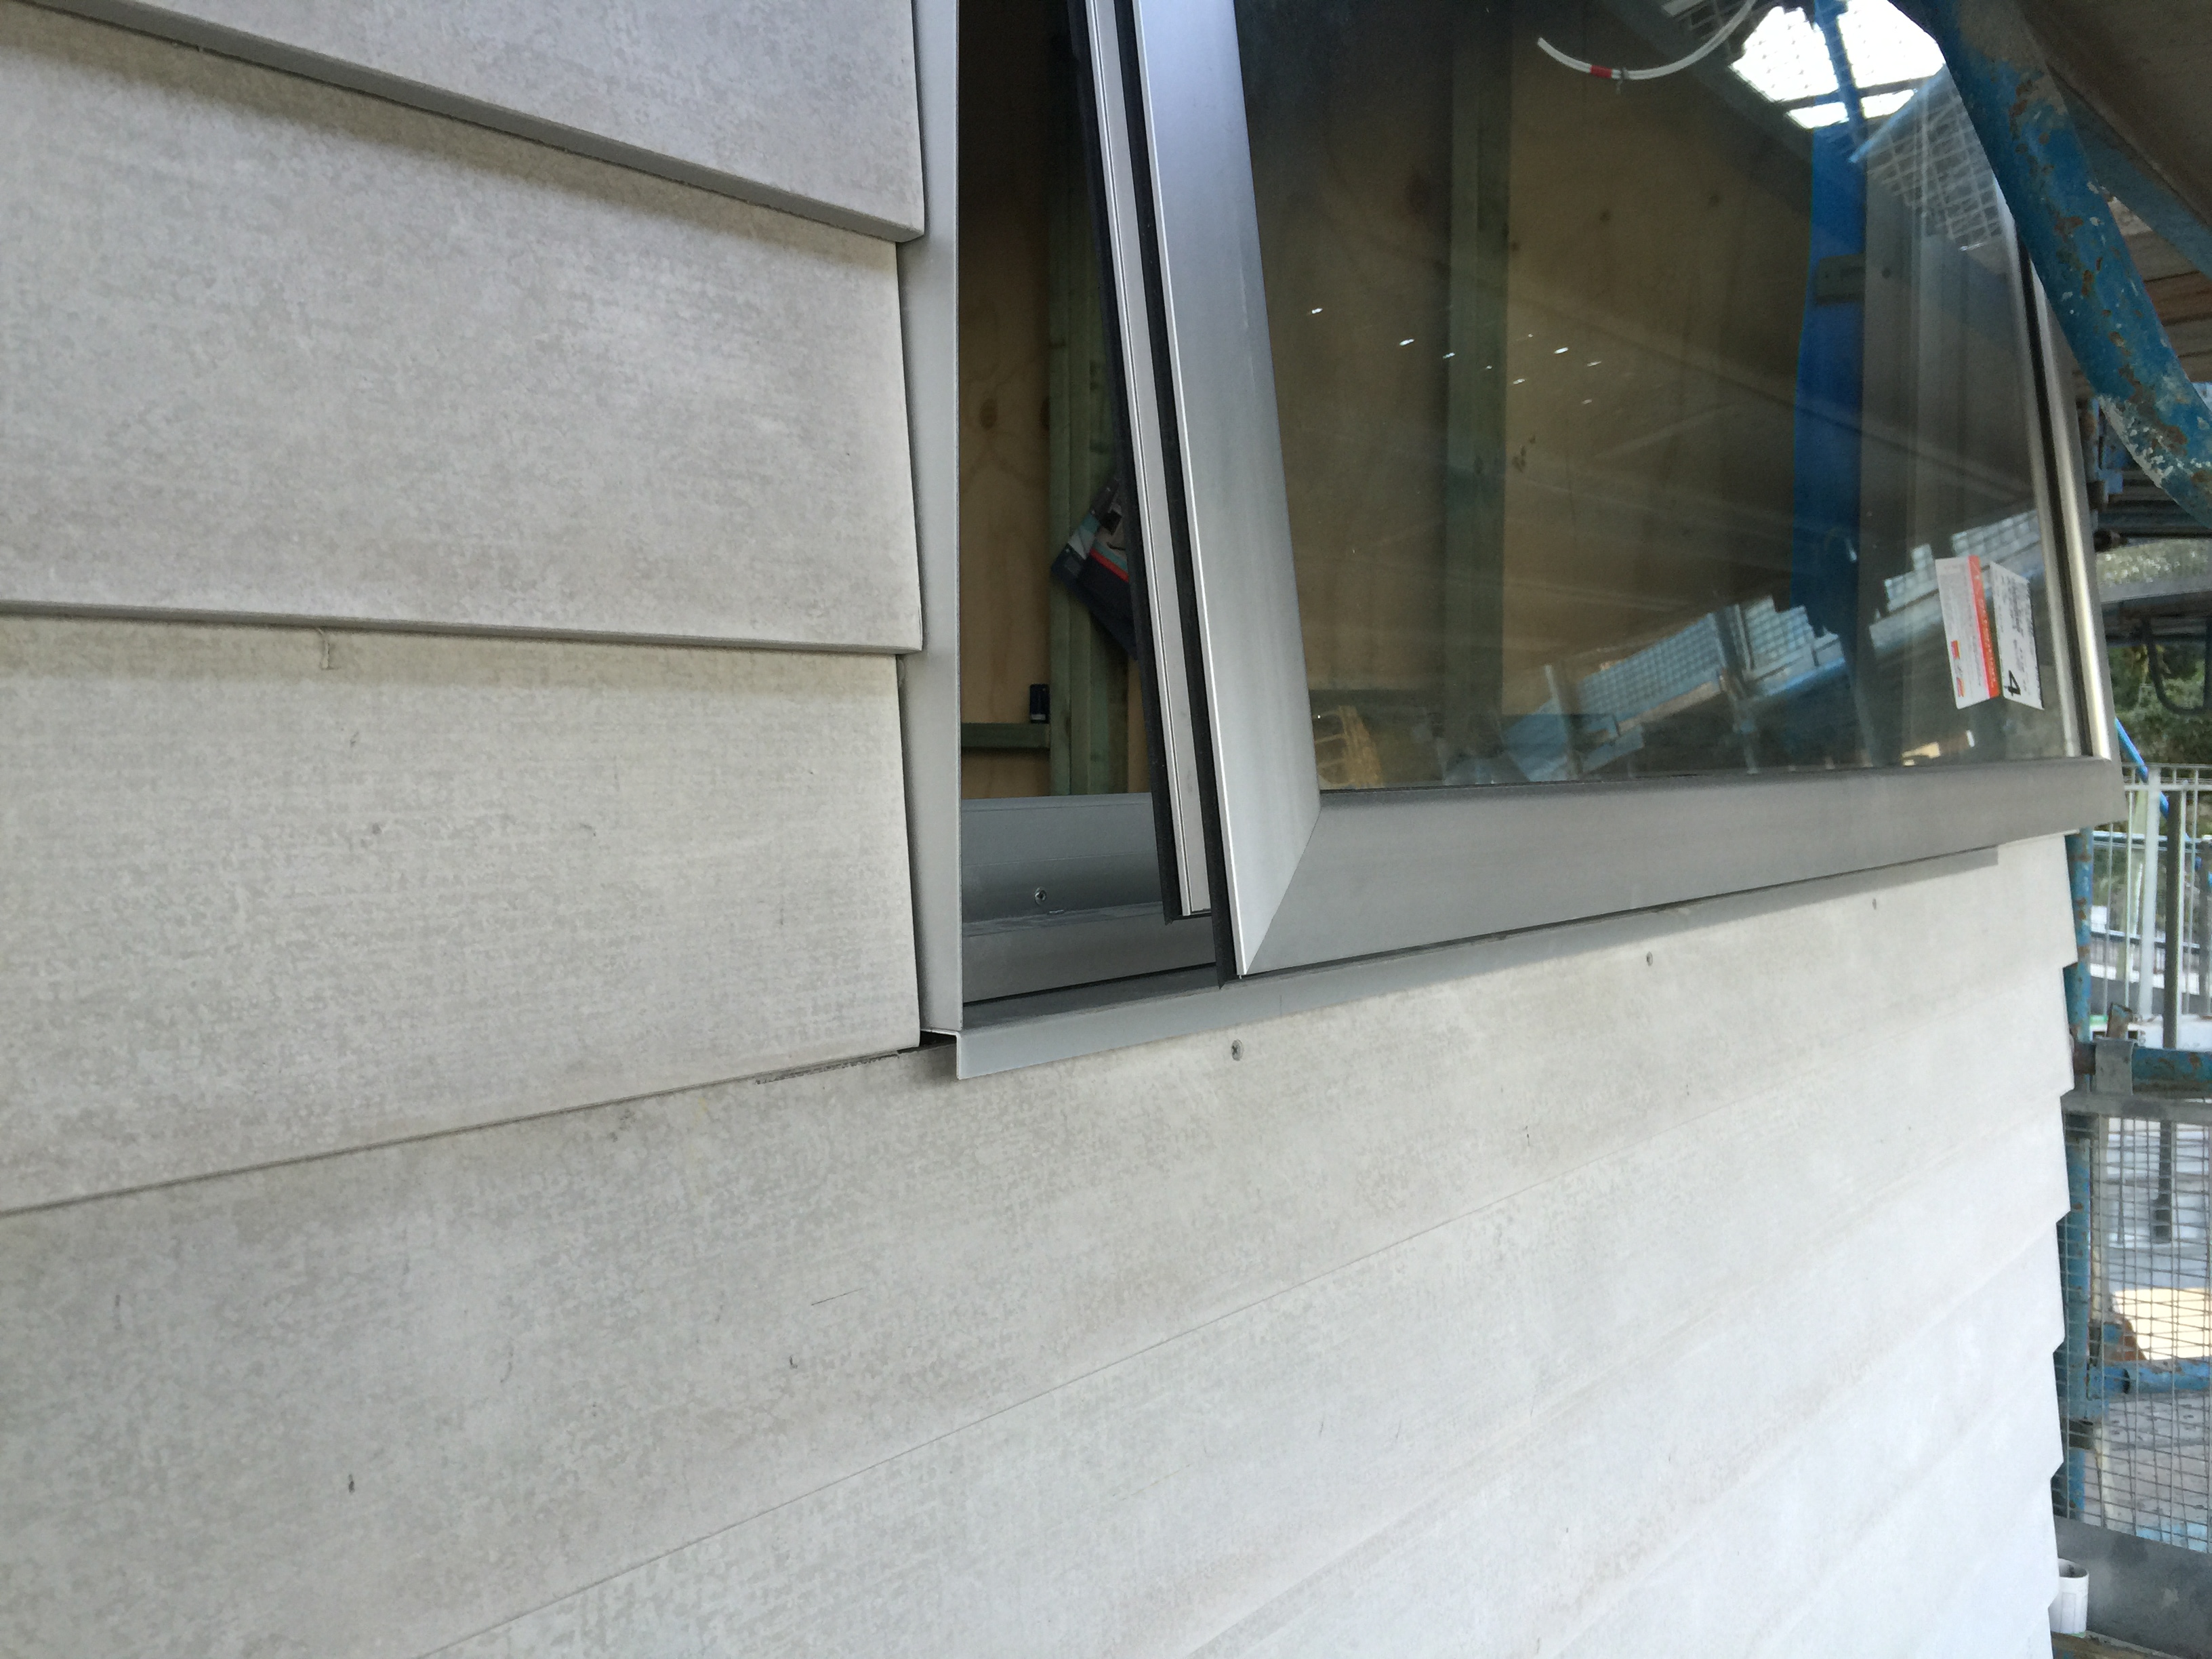
Meanwhile, the windows are a whole other exercise in precision fitting. The CFC is cut in and around and mounted according to the system developed for maximum moisture control. It has to be said, I’m getting moist just looking at it.

Leave a comment